Workspaces
Overview
Workspaces are unique environments where you can connect and organize multiple bases. You can invite members to join your workspaces, and each workspace is invoiced separately.
Create a new workspace
Note: If you are on the Explorer Plan, you can only be the owner of 1 workspace. Additional workspaces will require you to upgrade your plan.
- Click on the workspace/base selector in the top left of the navigation.
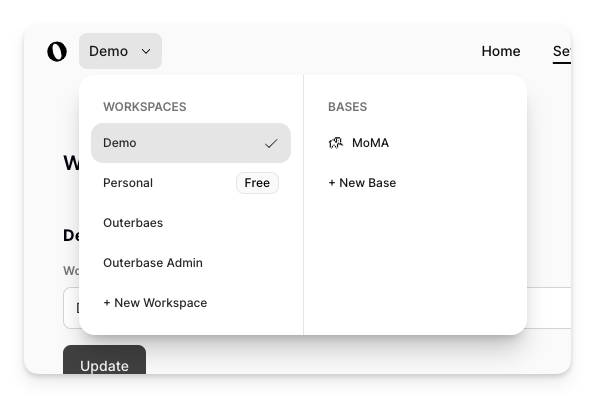
- Click 'New Workspace'.
- Give your workspace a name.
- Depending on your plan and how many workspaces you have already created, you may need to upgrade to a paid plan.
- Click 'Create Workspace' and you will be taken to your new workspace home.
Edit workspace details
Update workspace name
To update your workspace name, follow the steps below:
- Navigate to the workspace that you want to change the name of.
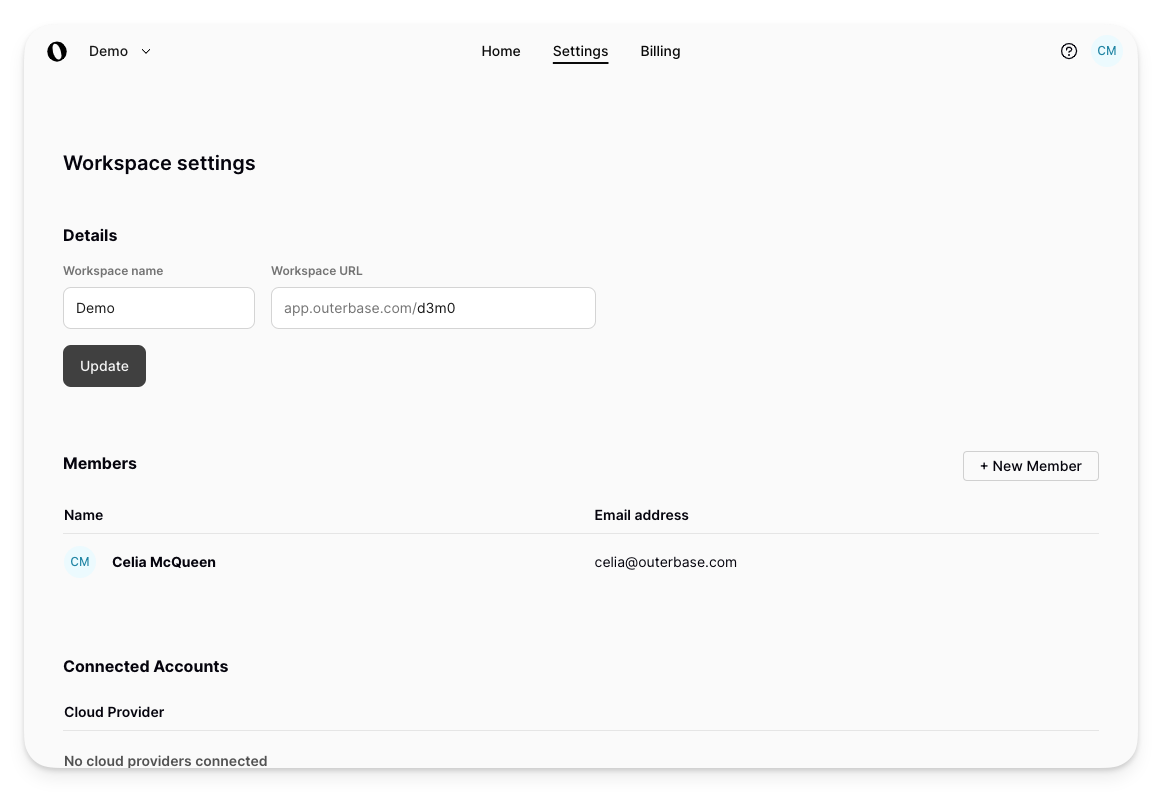
- Navigate to your Workspace Settings in the top nav bar.
- In the text input labeled 'Workspace Name', update to the desired name.
- Click 'Update' to save your changes.
Assign workspace URL
Workspaces created in Outerbase are given a uniquely identifiable URL path. You can update your workspace URL to whatever you like, provided it's not taken by another Outerbase workspace.
To update your URL, follow the steps below:
- Navigate to the workspace that you want to change the URL for.
- Navigate to your Workspace Settings in the top nav bar.
- In the text input labeled 'Workspace URL' update the last path with your desired URL.
- Click 'Update' to save your changes.